Novini zirok
")


Yak to break the screen?
Screen- even a brown object near the booth, so as it is possible to see them in the room of the small kuchka, in order to achieve greater comfort by ourselves. Whoa, the situation, if you need to see the city more robustly from the lid, or close your child out of the light. They looked at the screen for themselves, and this year we will try to build it with our own hands, and even in the shops for it, you can have a penny.
How can I create a screen with my own hands?
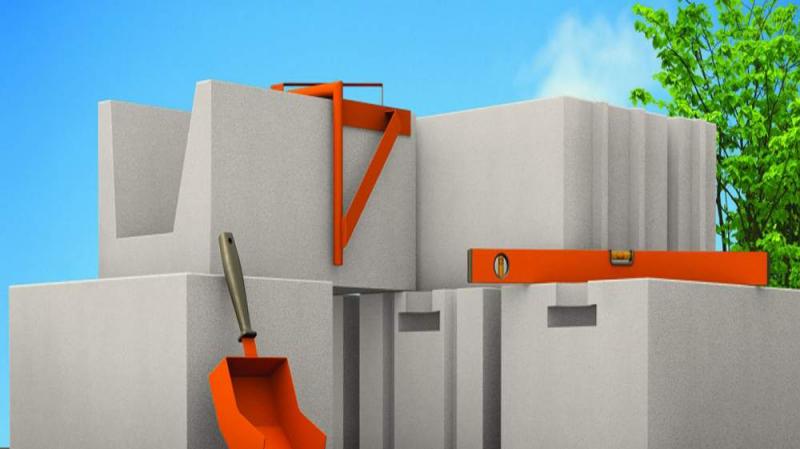
Before you start to get to the robot, you need to do better to take all the necessary materials and tools, and you need to know a lot. The axis is a list of what we will be victorious:
Wooden beams, 4x4cm.
Tissue, bazhano lion
Threads duzhe mіtsnі
Acrylic farb beige color
Penzlik for farbi
Machine for grinding (can be replaced with an emery paper)
Putty for wood
Loops (2 pcs. For 1 section)
Hammer
Screwdriver
Roulette
Screws and tsvyakhi
Liniyka
Olivets
Knives
Axis is such a great list. Our vipad will have 3 sections, the most common version of screens. Now let's wonder the diagram of one section:
Walk away from the tsikh danih, robimo the screen. Pretty good!
1. We take a piece of timber and we need a layout. We know a number of views of 180 centimeters and a number of views of 50 centimeters.
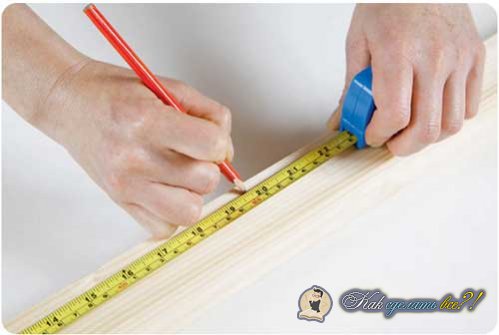
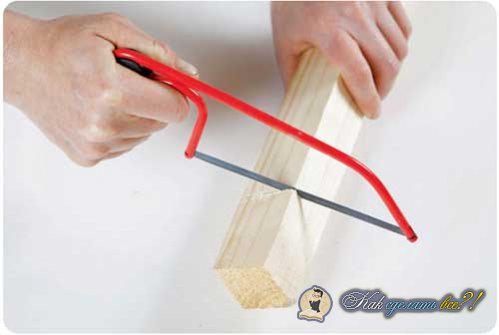
2. Razpilyuєmo bar behind the size of the fold up to the size of the screens.
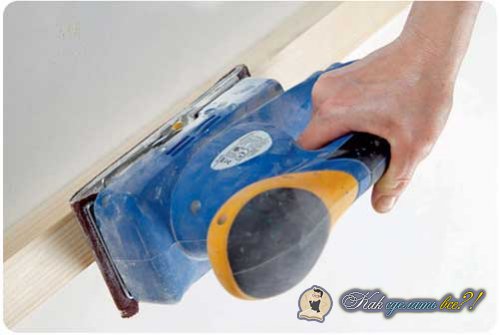
3. Do not injure your hands for an hour over-saturating with screens, the tree needs to be covered with a grinder, since it’s so dumb, I’ll take the emery paper and I’ll hand it over.
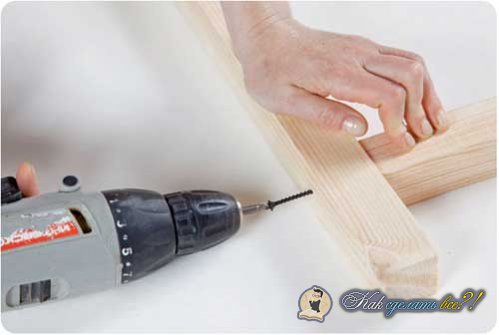
4. Now, if all the bars are ready, they can be put together with the construction. Put two more bars on the top of 50 centimeters and on top of the jumper (bars of 50 centimeters). The last two crossbars are varto krypiti 15 centimeters from the edge, and the third crossbar is in the middle. Zakrіplyuєmo їkh behind the aid of all the screws of that screwdriver, moreover, scratch the varto from the end. So it is taken in two different sections.
5. It’s going to be putty and going through all the nasty things on the tree, and there can be some tremors, irregularities, or something else. For hanging putty and mice it is necessary to sand it with another emery paper. Tilki todi tsi mice become smooth and take it to the dot.
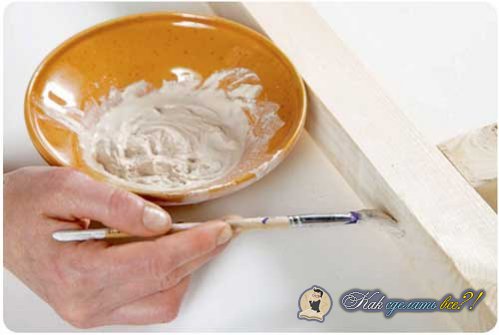
6. In addition, as the frame will be ready-made, it will be necessary to get it done. For tsyo vikoristovuєmo acrylic farbah be-like a color, which will be given to us.

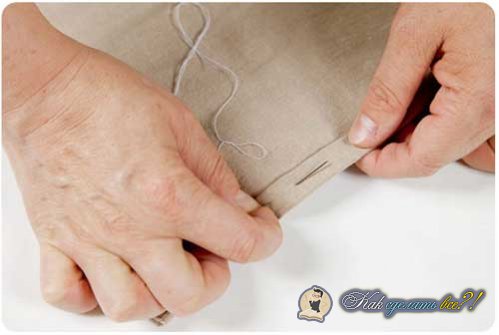
7 ... It is a visihati tree, and we ourselves are busy with the preparation of fabric. We know how to grow, we will come to the stench - a lot of pieces of fabric with a size of 152x50 centimeters, and 12 pieces of fabric with a size of 30x25 centimeters.
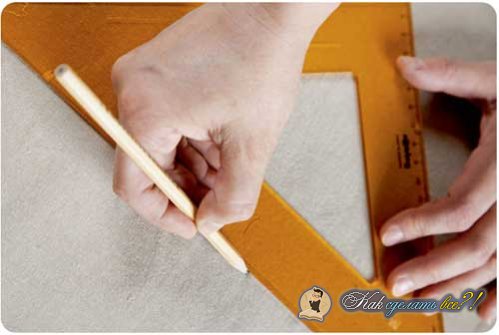
8. It is also not forgotten to overshoot for allowances of 2 centimeters from the skin side. Craftsmanship can be applied to our fabric.
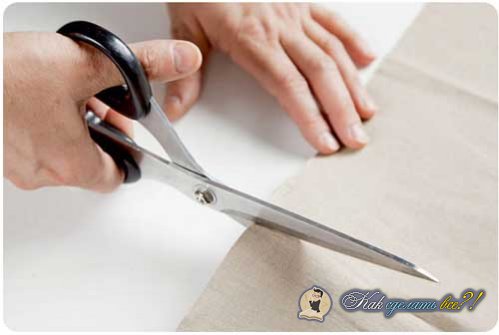
9. Now, melodiously, along the way, we now have 12 small pieces of fabric. We wanted to create not just a screen, but also a handy man for capturing speeches, so that the shmatki would be crampons for the screens. On the skin section, there will be 4 boxes in two rows. Zaginaєmo allowances and stitching of the chisel on the machine.
10. The tree doesn’t dry enough, it can also be continued to the robot. We need to have all the sections, and are robust for additional hinges, screws and screwdrivers.